Badges for staff and volunteers can get pricey—especially when you need a lot of them or want custom designs for different teams, ministries, or events. Ordering in bulk isn’t always practical, and costs can quickly eat into your budget.
In this guide, I’ll show you how to make your own high-quality church badges at a fraction of the cost. You’ll get a full supply list, step-by-step instructions, and some time-saving tips I’ve learned from making dozens of badges for events and ministries.
Supplies You’ll Need
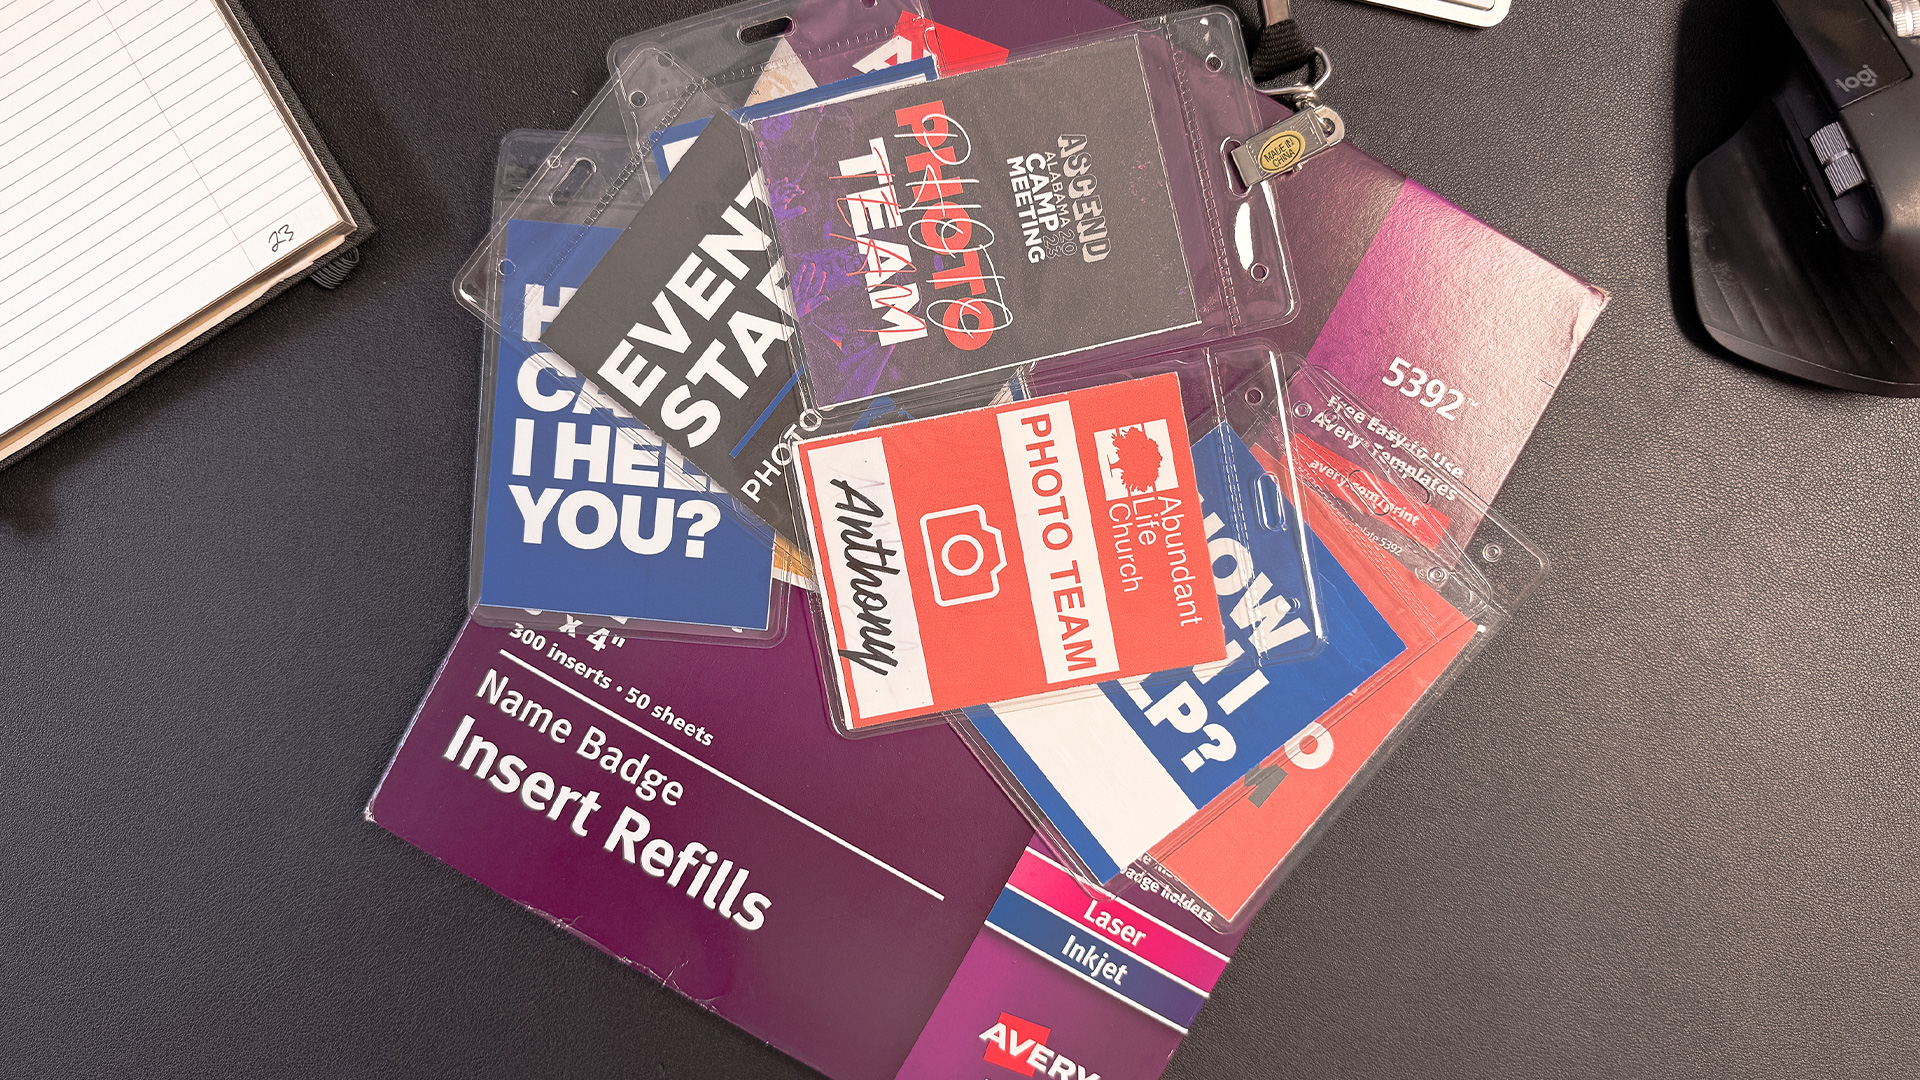
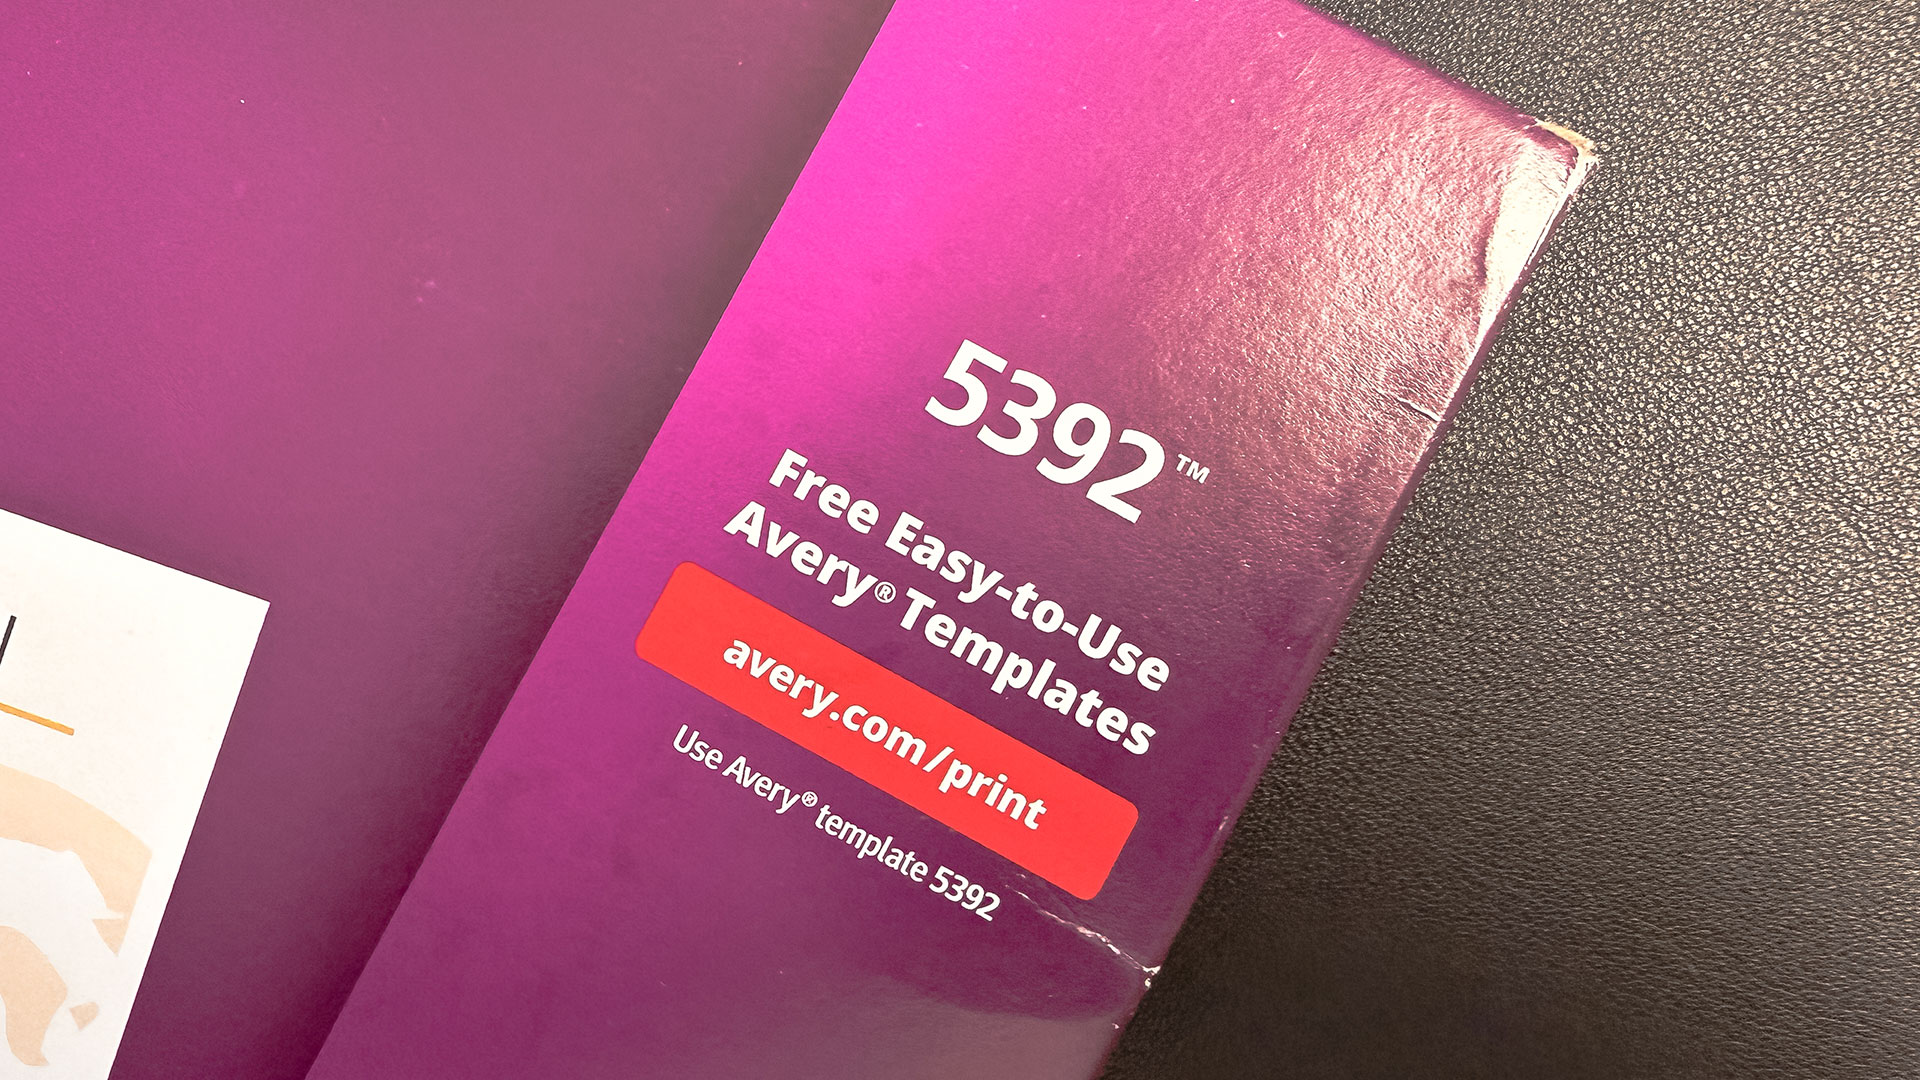
- Avery 5392 3”x4” Name Badge Insert Refills – Makes up to 150 double-sided badges (recommended for lanyards to prevent twisting) or 300 single-sided badges for pin-on holders.
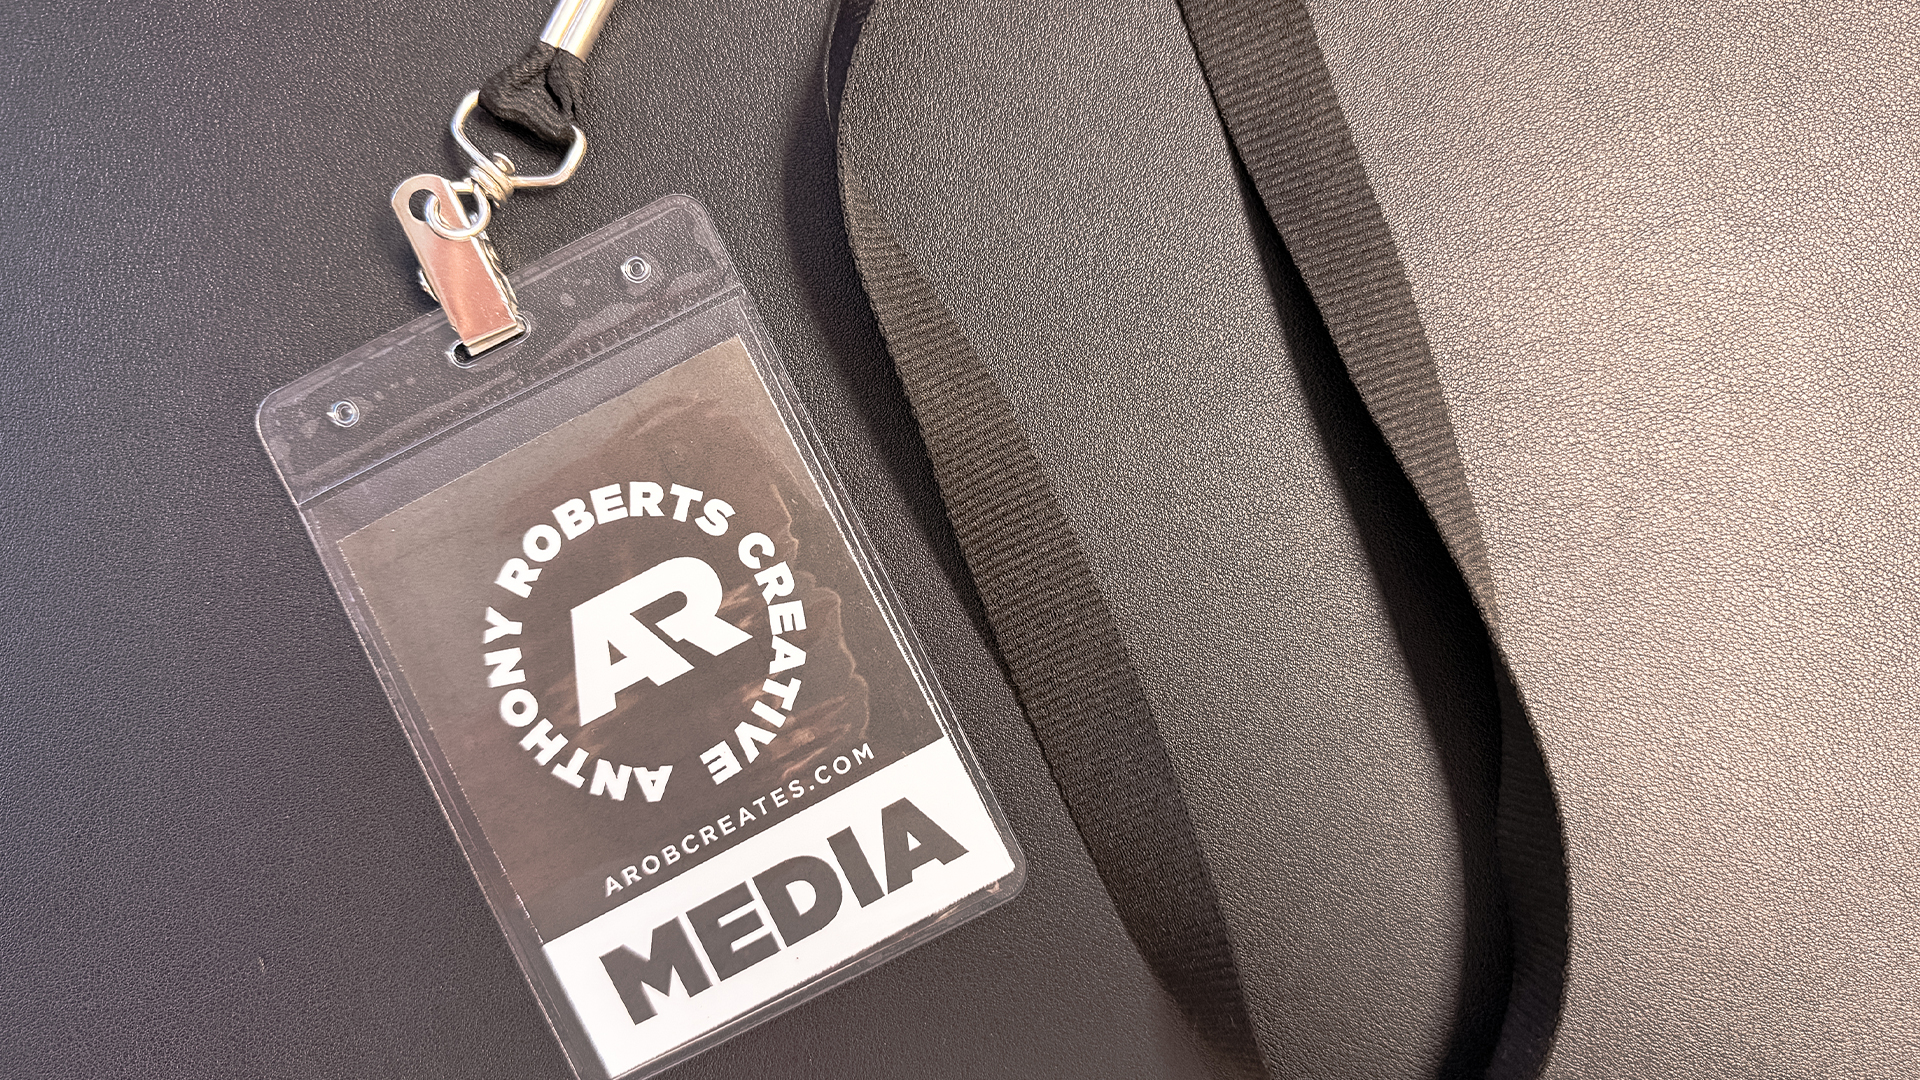
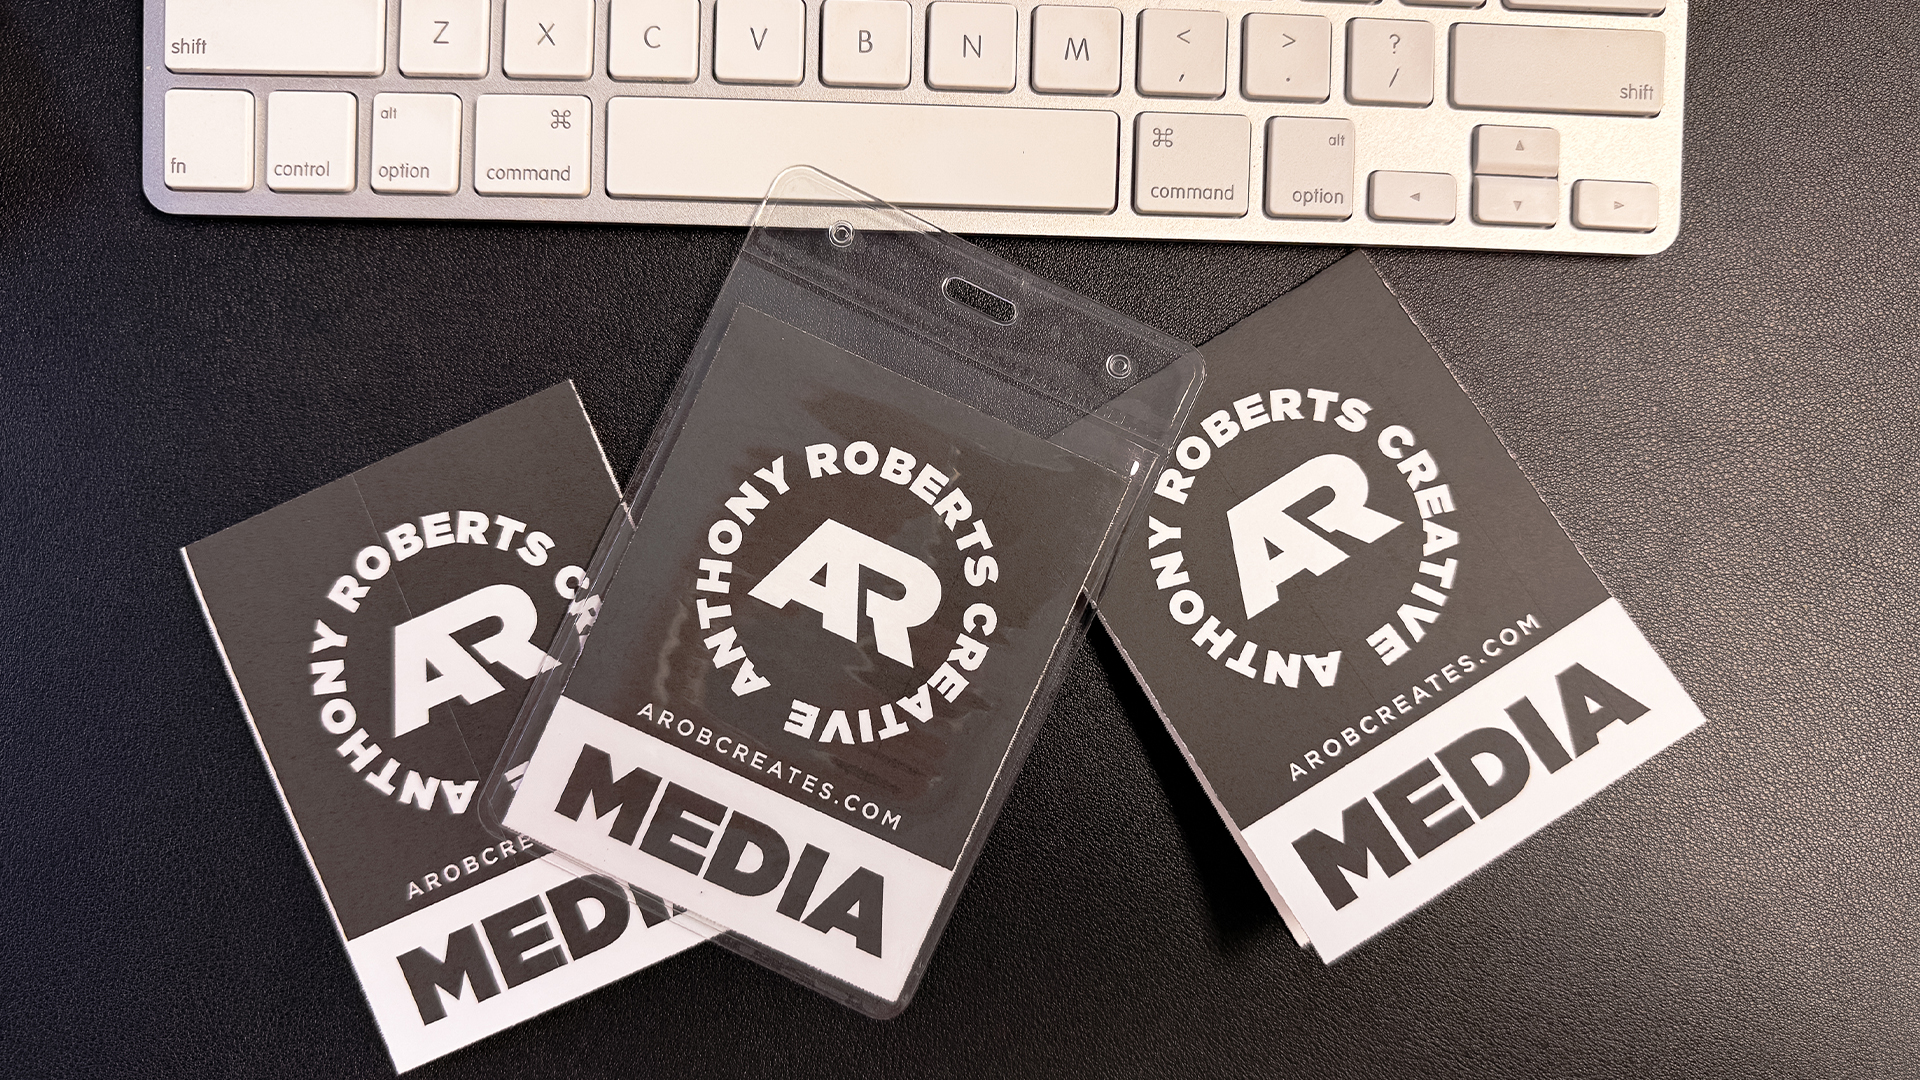
- 3”x4” Clear ID Badges with Lanyard Slot – Crystal clear, durable, and easy to assemble.
- ID Badge Lanyards – Many styles available, but I recommend wider “flat-lay” lanyards for comfort and visibility.
- Design Software & Template – I use Adobe Illustrator, but Avery offers free templates for Microsoft Word (.doc), Adobe Photoshop (.psd), Adobe Illustrator (.ai), Adobe InDesign (.indd), Adobe PDF (.pdf for Canva), and Apple Pages (.pages).
Step 1 – Prepare Your Template
Once you’ve gathered supplies and downloaded your template, you’re ready to design.
If you’re using a lanyard, your badge will be vertical (portrait) but most templates are horizontal (landscape).
You have three options:
- Design the badge normally and rotate it 90° to fit.
- Rotate the entire template into landscape orientation.
- Design everything sideways directly on the template.
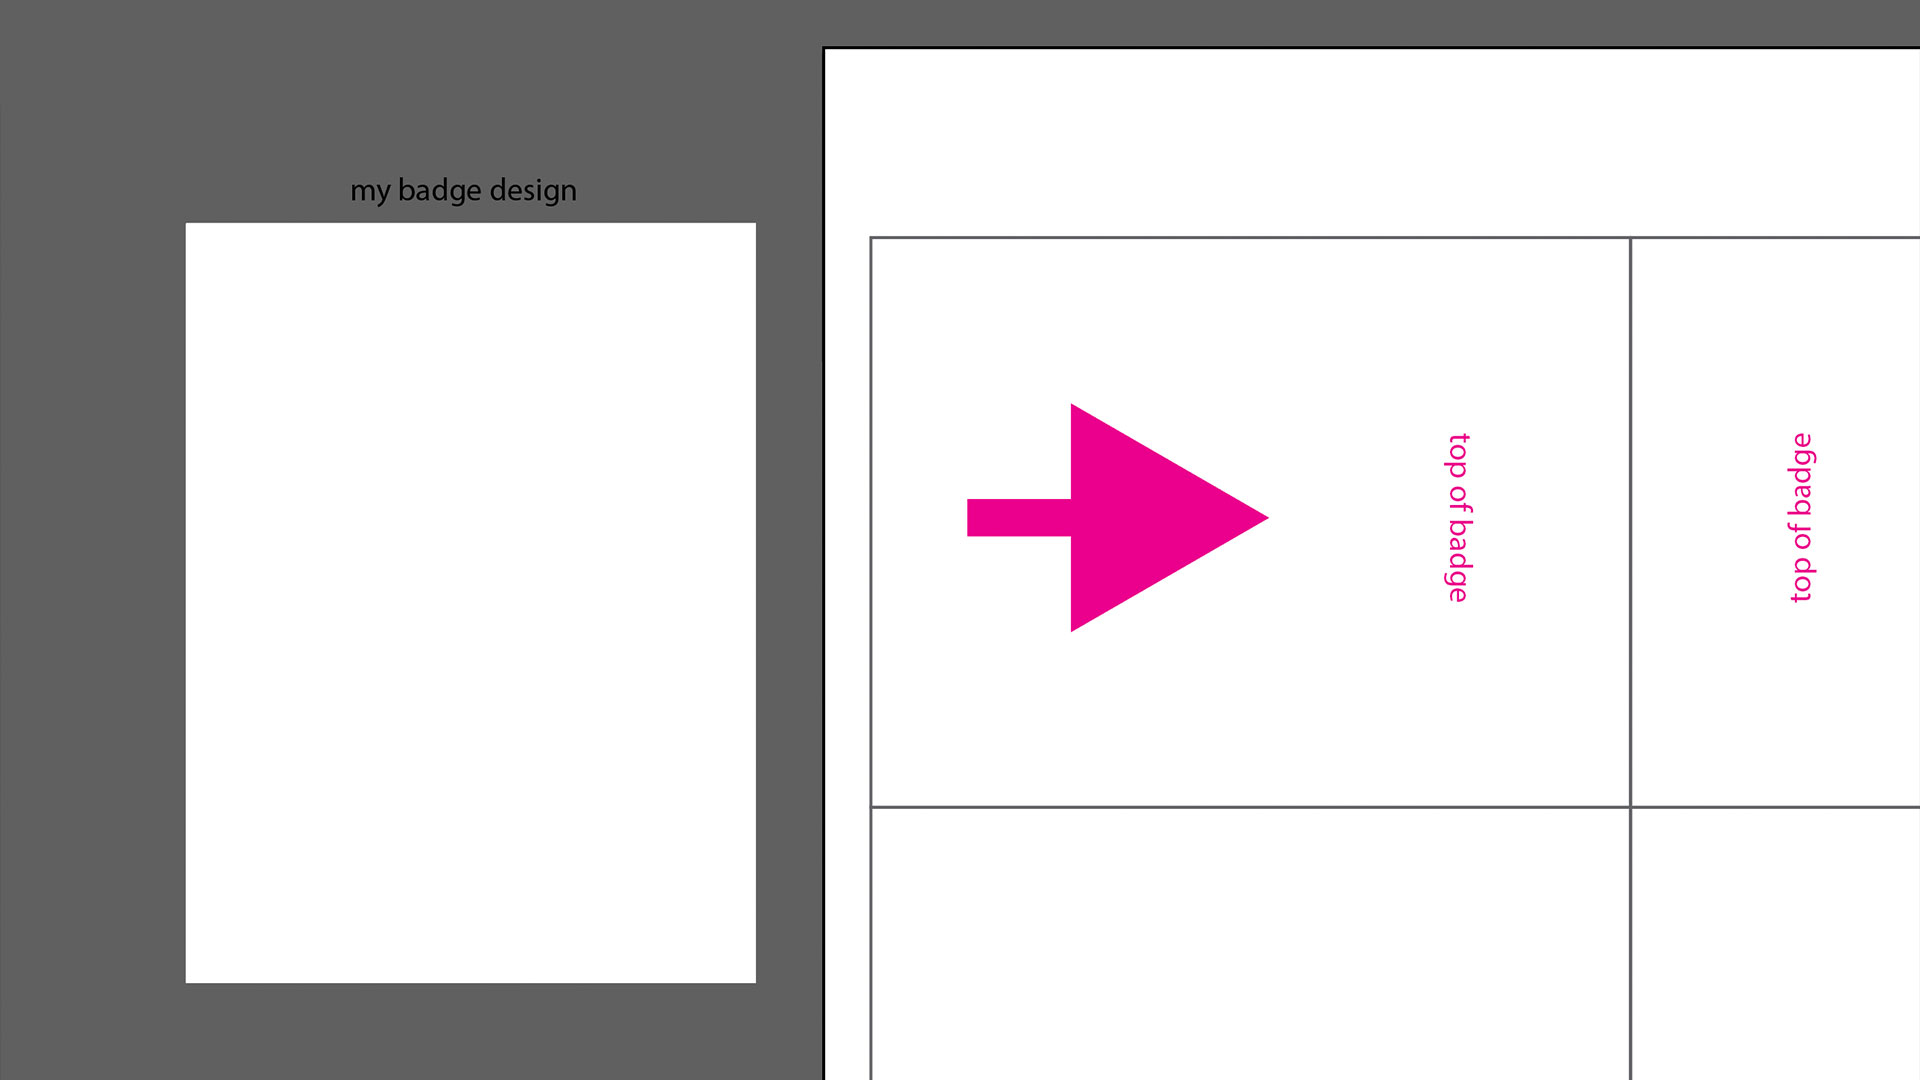
My tip: Create a single 3”x4” badge design separately, then rotate it before placing it in the template.
Step 2 – Arrange for Double-Sided Badges
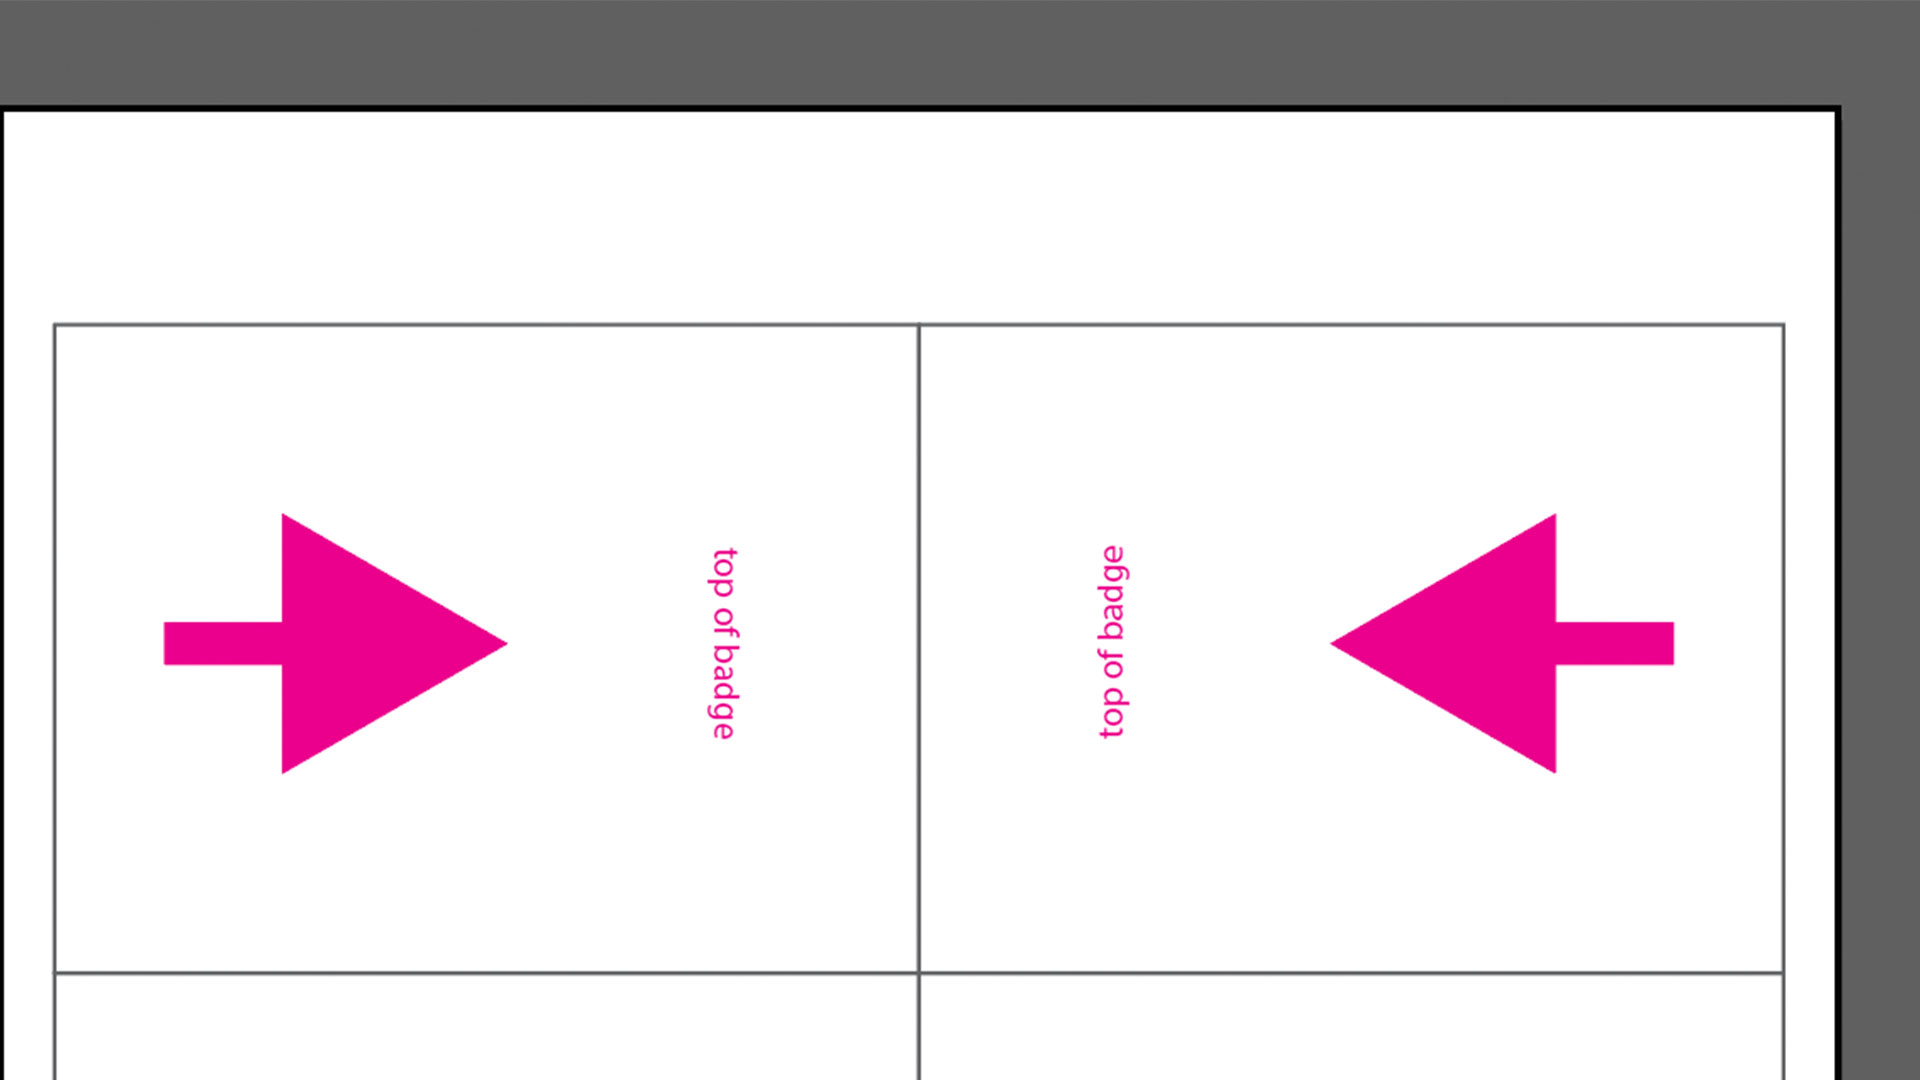
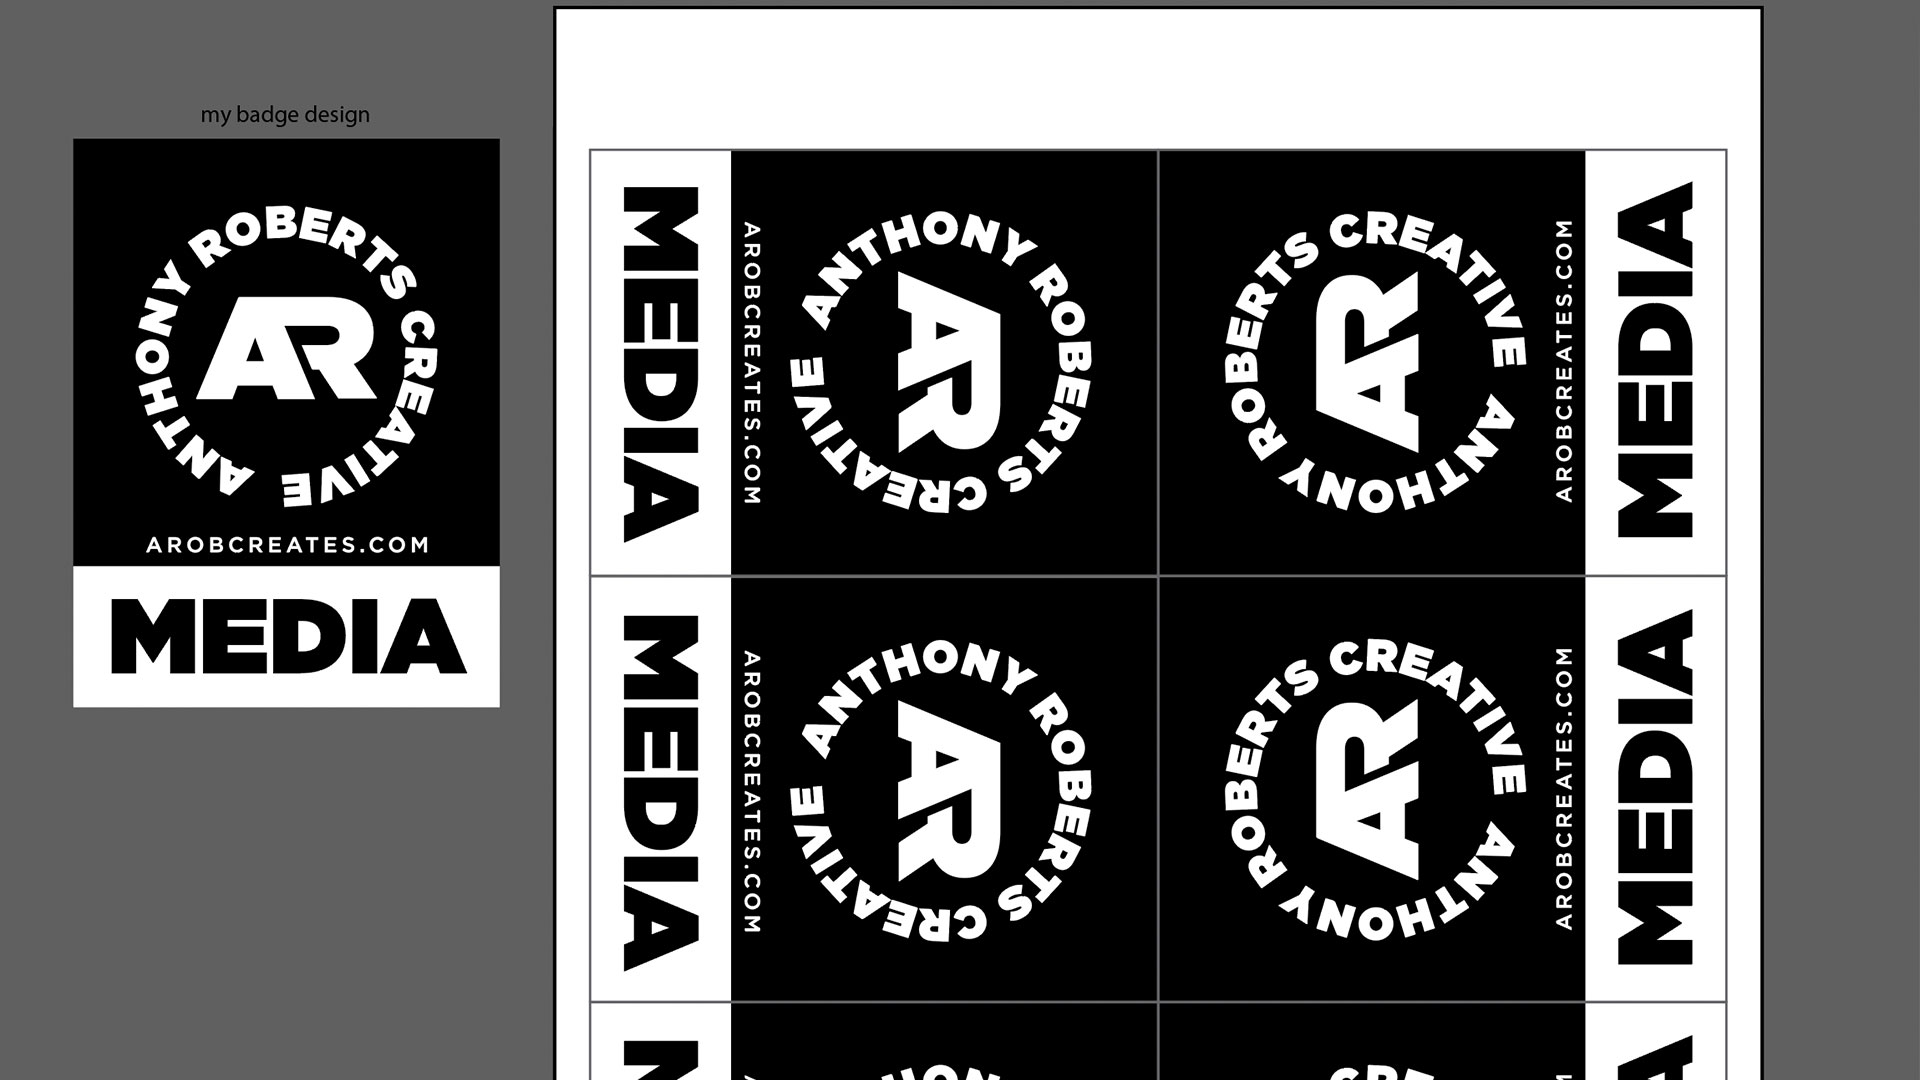
Your Avery template will have a grid of six rectangles. Place three designs in the left column, then mirror them in the right column so the tops of the badges touch.
Why? If you want front-and-back badges, you can simply fold them together instead of matching and gluing two separate pieces—saving you a ton of time during assembly.
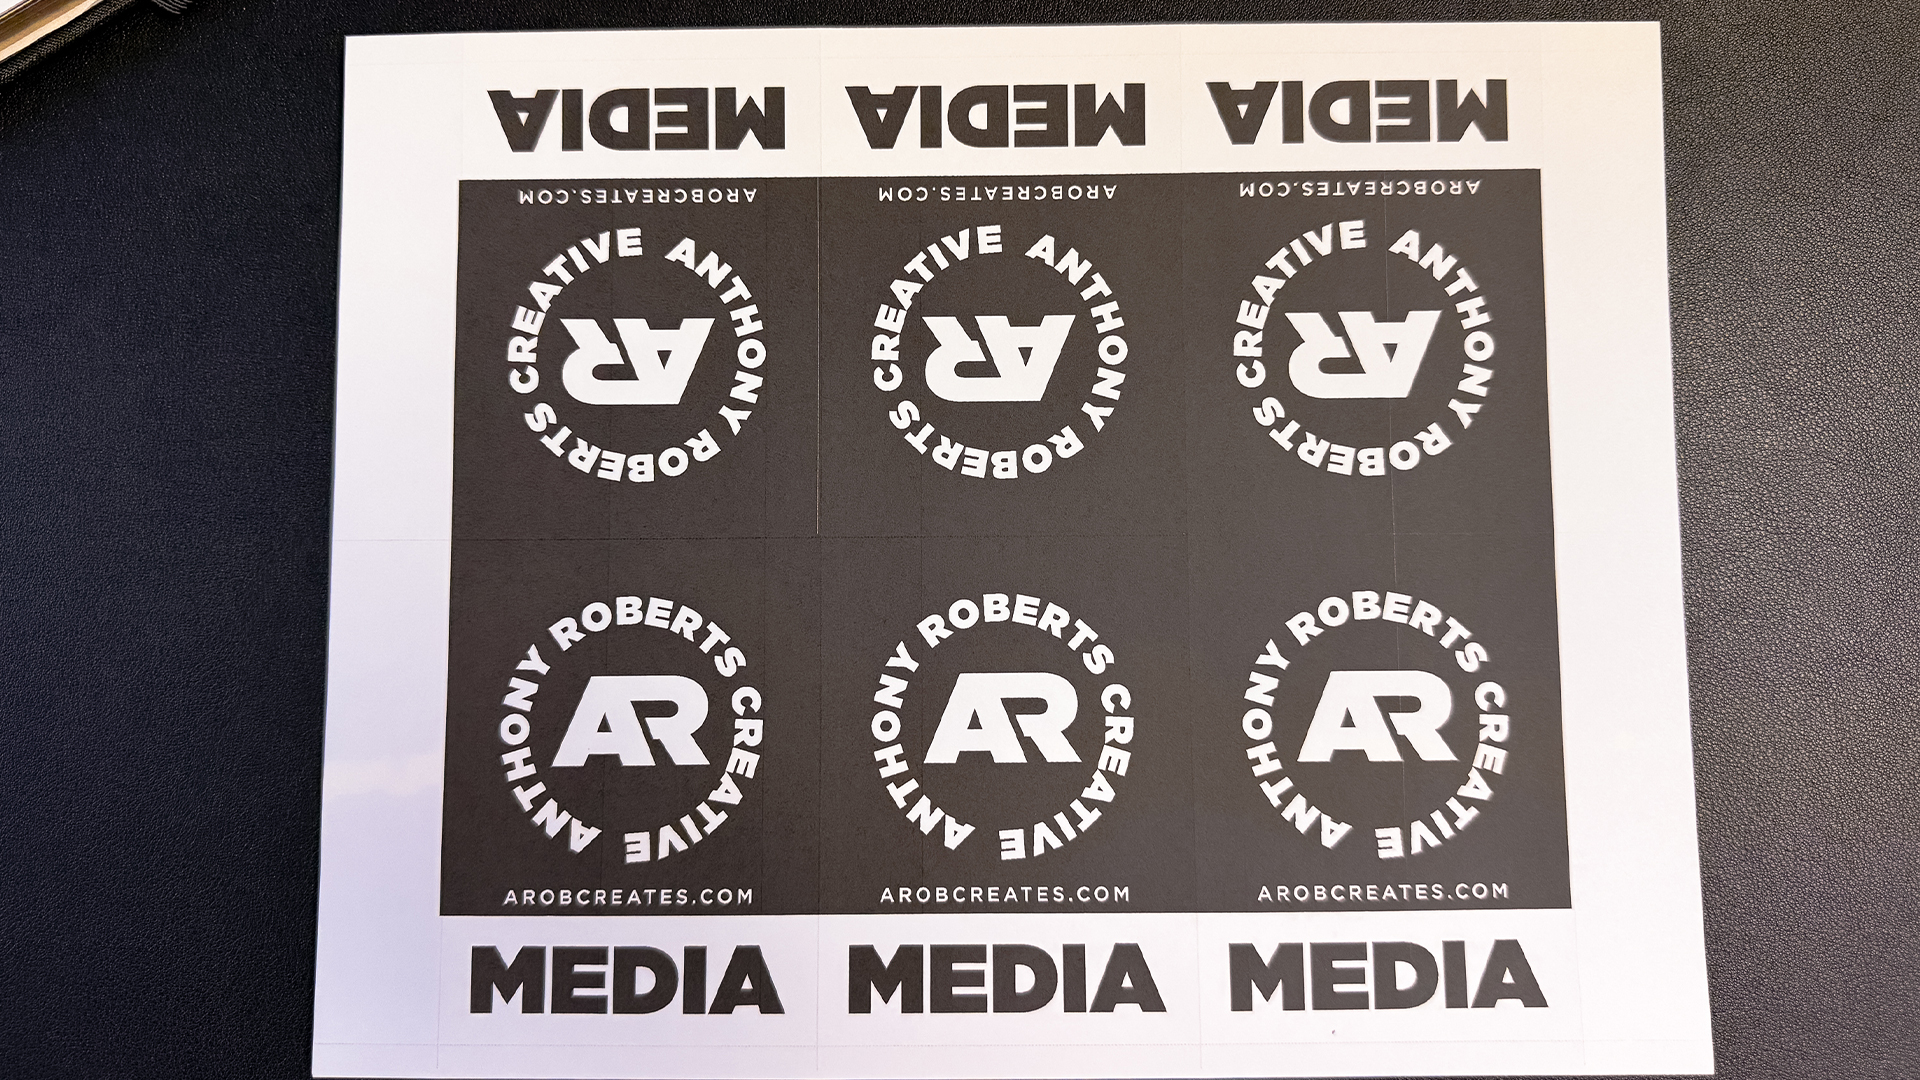
Step 3 – Print & Assemble
- Load the sheets into your printer according to the arrow guides on the paper.
- Tear off the perforated edges first.
- Separate the rows, but keep the mirrored pairs attached.
- Fold the joined badges at the top and slide them into the badge holder.

Congratulations!
You now have professional-looking church badges for a fraction of the cost—and you can customize them for any ministry, event, or team without the bulk-order expense.