Introduction
Recreating the film experience with a digital camera is not the same as trying to copy the look of film. There are already countless presets, apps, and Photoshop actions that do that very well.
What I’m interested in is something different.
This is about recreating the experience of shooting film—the pace, the limitations, and the mindset—without the ongoing cost of film stock or professional development. Shooting this way has helped me slow down, be more intentional, and ultimately become a better photographer.
This post focuses on how to configure a modern digital camera to behave more like a film camera. In Part 2, I’ll dive into film simulations and how to get strong analog-inspired results straight out of camera.
Why Film Feels Different
One of the most noticeable differences when shooting film is pace.
Modern digital cameras are incredibly fast. High burst rates make it easy to fall into spray-and-pray shooting. In some scenarios—sports, wildlife, motorsports—that speed is essential.
But this isn’t about those situations or paid client work.
This is about personal photography. The kind you do for enjoyment, curiosity, and challenge.
To get there, I started by writing down what shooting film actually felt like and then figuring out how to impose those same constraints on a digital camera.
The Film Shooting Rules
Here’s the framework I use:
- Manual focus
- Single shot (no burst)
- Fixed ISO
- Fixed white balance
- Manual aperture
- Manual shutter speed
- JPEG only
- Viewfinder only (optional)
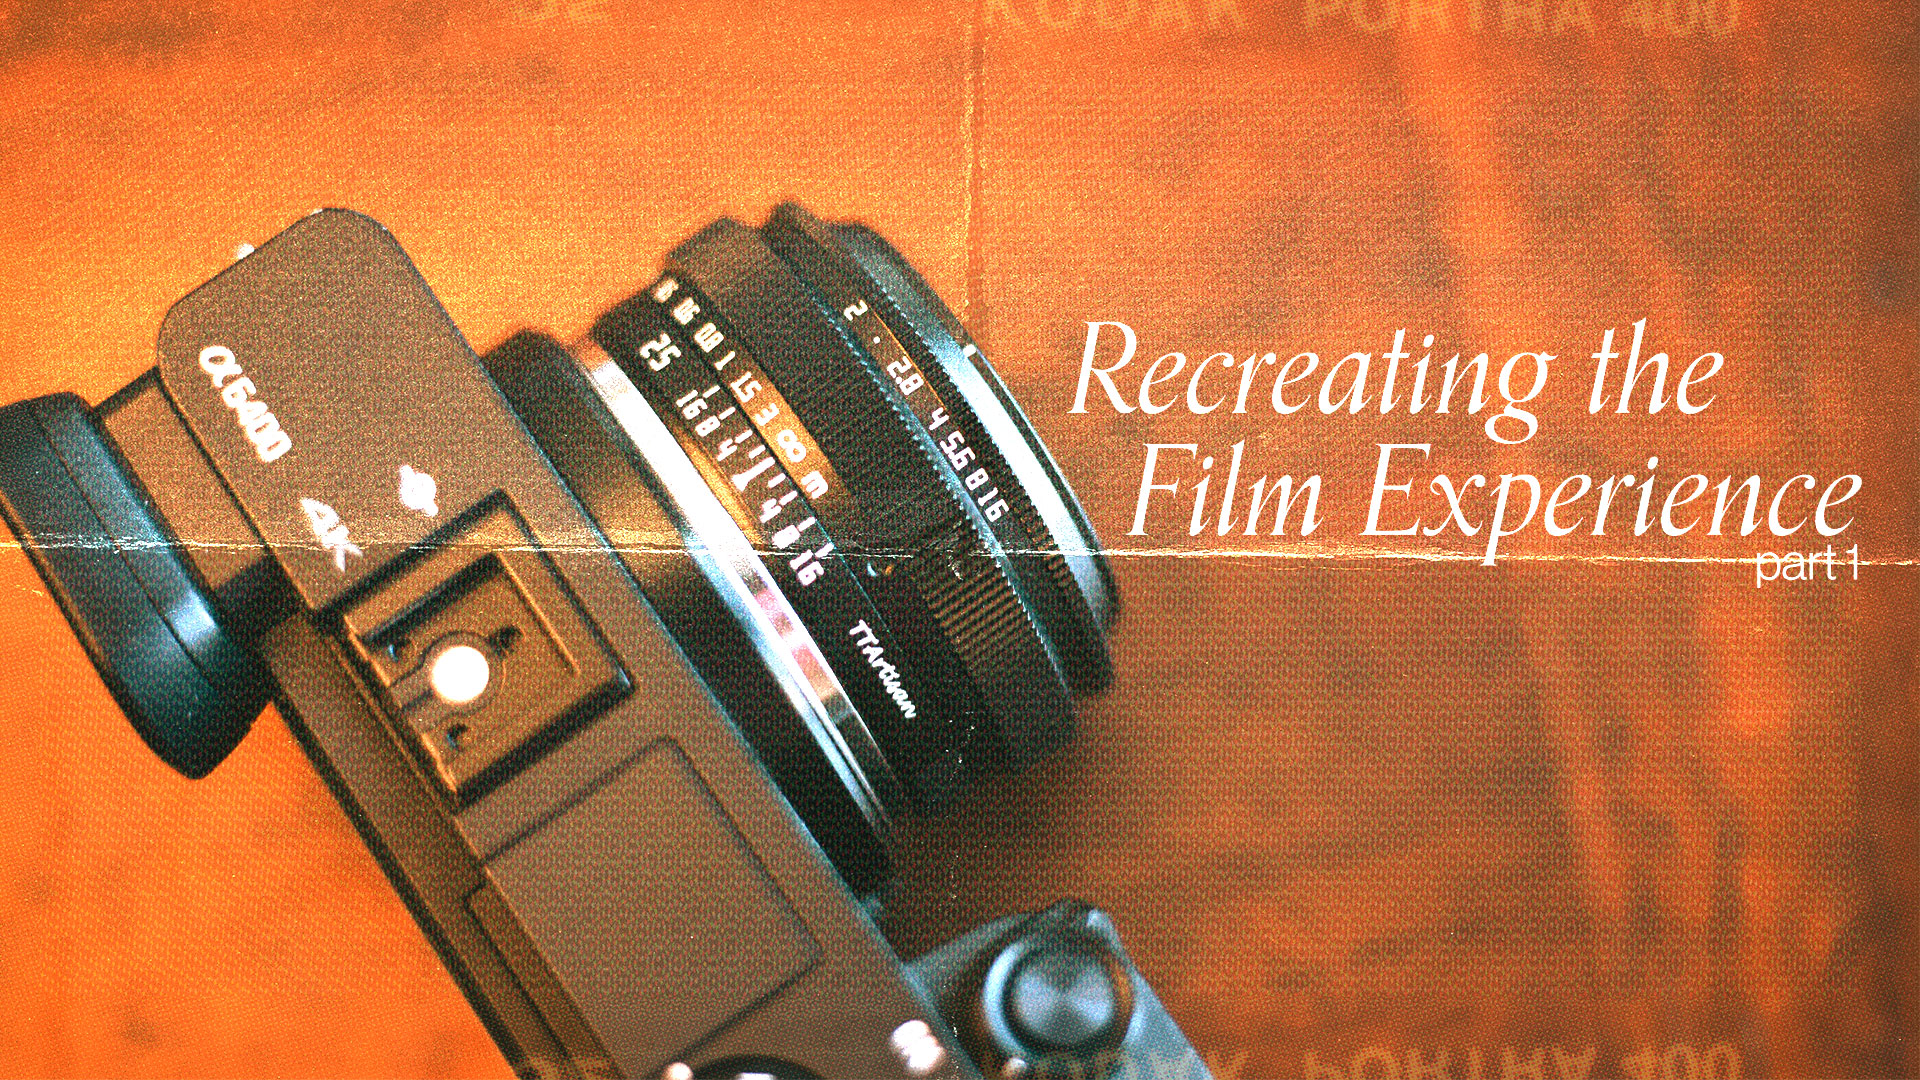
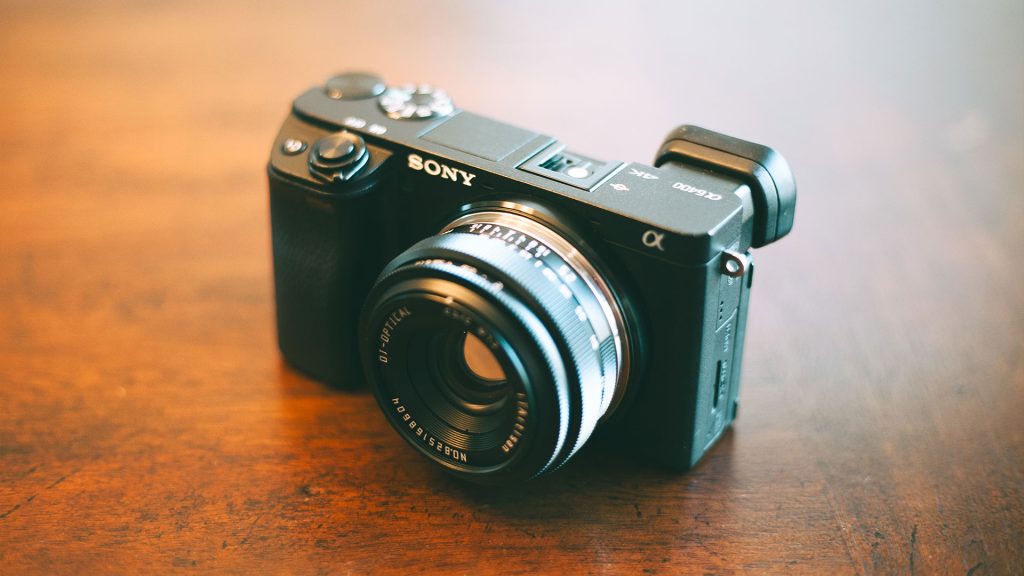
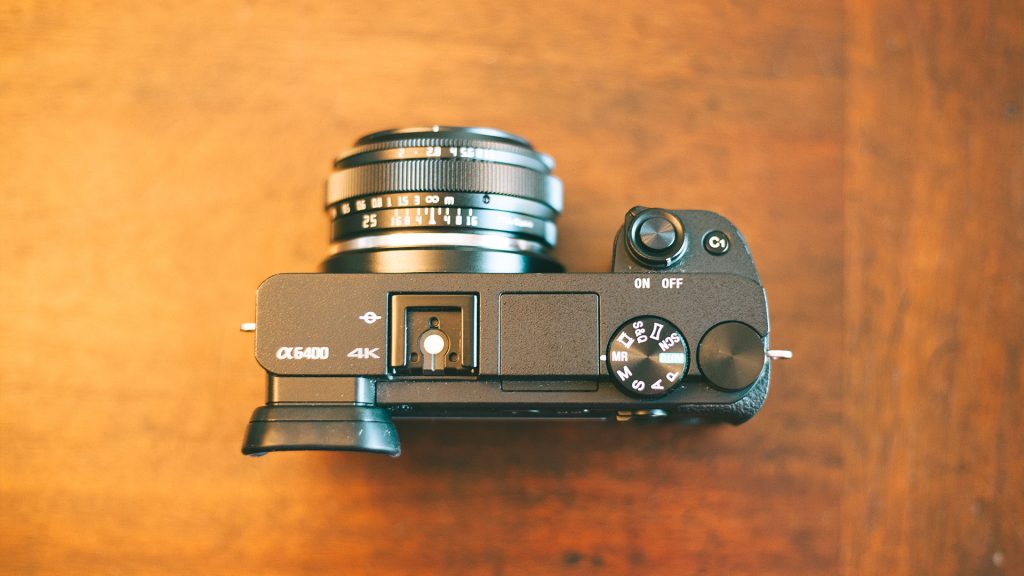
For reference, I’ll be using my Sony a6400, but this process works on nearly any modern DSLR or mirrorless camera.
Manual Focus
Manual focus forces you to slow down and truly engage with your subject. Modern autofocus systems are incredibly accurate, but that convenience removes a layer of intentionality.
For the best experience, I recommend using a fully manual lens. While many modern lenses offer a manual focus mode, it doesn’t feel the same as a mechanical focus ring.
You have two good options:
- Modern manual-focus lenses
- Vintage lenses with adapters
Both work well. Modern manual lenses are affordable and sharp, most can be found on Amazon or similar sites for under $100. Vintage lenses can be even cheaper and add character—but inspect carefully for haze, fungus, or damage.
Affordable Modern Manual Lenses
(All examples listed are Sony E-mount, but most are available in other mounts.)
- TTArtisan 25mm f/2 – Compact, lightweight, great everyday focal length
- 7artisans 35mm f/1.4 Mark II – Natural perspective with excellent bokeh
- Brightin Star 50mm f/1.8 – Classic focal length at a very low cost
Great Vintage Options
- Canon FD 50mm f/1.8
- Canon FD 50mm f/1.4 SSC
- Minolta 50mm f/1.4
- Helios 44M-4 58mm f/2 (M42 mount)
The goal is simple: fully manual, mechanical control. You won’t regret it.
Single Shot Mode
Set your camera to single shot and leave it there.
At first, this feels limiting. Over time, it builds confidence. You begin anticipating moments instead of holding down the shutter and sorting later.
An added bonus: no more choosing one image out of 37 nearly identical frames.
Fixed ISO
This is where the challenge really starts.
With film, ISO was locked to the roll you loaded. If you chose ISO 400, every frame was ISO 400 until the roll was finished.
To replicate this:
- Pick an ISO (400 is a great default)
- Lock it
- Don’t touch it
This forces you to work with aperture and shutter speed, just like film. You start understanding exposure rather than letting the camera solve it for you.
Fixed White Balance
Just like ISO, white balance was baked into film.
Outdoor film stocks typically sat around 5500K. Indoor or tungsten stocks were closer to 3200K. Mixing environments created color shifts—and that’s part of the charm.
Set your white balance manually and leave it fixed:
- Sunny
- Cloudy
- Tungsten
The key isn’t perfection. It’s commitment.
Manual Aperture and Shutter Speed
With fixed ISO and fixed white balance, aperture and shutter speed are all you have left.
Whether your aperture is controlled on the lens or in-camera doesn’t matter. What matters is shooting fully manual and trusting your exposure meter.
This limitation is where the joy—and frustration—of film lives.
JPEG Only
This is the hardest rule.
No RAW files. JPEG only.
This goes against almost everything modern photography teaches us, but remember: this is not client work. This is for enjoyment.
JPEG-only shooting:
- Removes editing pressure
- Encourages acceptance of imperfection
- Brings back the surprise factor
Don’t chimp. Don’t edit. Transfer the photos and simply look at them.
Missed focus, blown highlights, and odd colors are part of the experience.
Viewfinder Only (Optional)
If you’re using a DSLR, this part is easy.
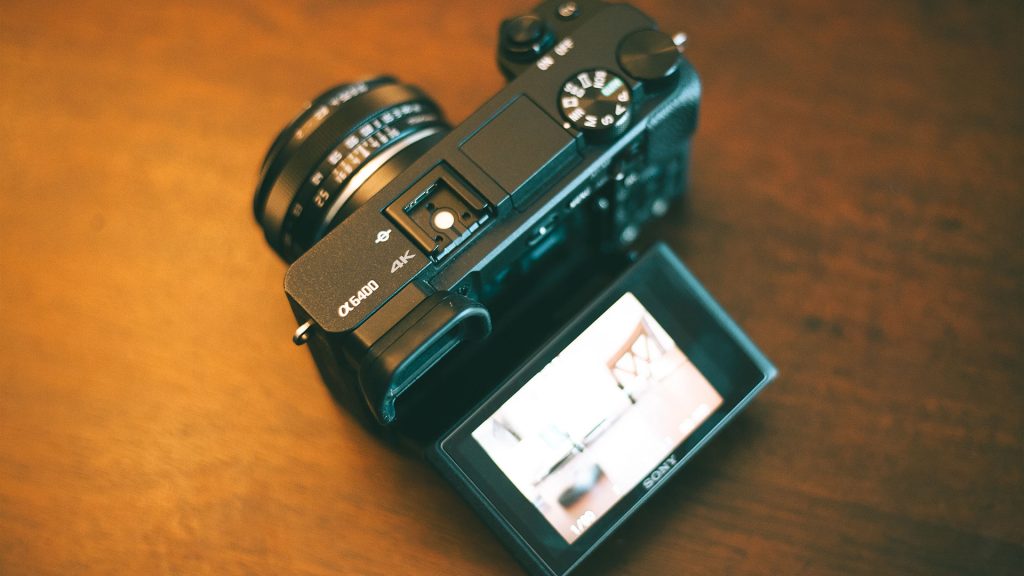
With mirrorless cameras and EVFs, it’s harder. Reduce overlays as much as possible. Turn off image review. Minimize the digital feedback loop.
If needed, using the rear screen without overlays is a reasonable compromise.
Final Thoughts
This isn’t a perfect replacement for shooting real film—but it’s surprisingly close.
More importantly, it brings back intention, patience, and joy. If you’ve felt burned out or disconnected from photography, this approach can be a reset.
In Part 2, I’ll cover film simulations and how to get analog-inspired results straight out of camera—no editing required.