Time to read:
This is the second part of my Recreating the Film Experience series.
In Part 1, I walked through how to set up a modern digital camera to feel like a film camera. The goal was to slow down, embrace limitations, and really focus on each shot. In this post, we’re going to take the next step: how to get photos with a film-inspired look straight out of camera (SOOC) with little to no editing.
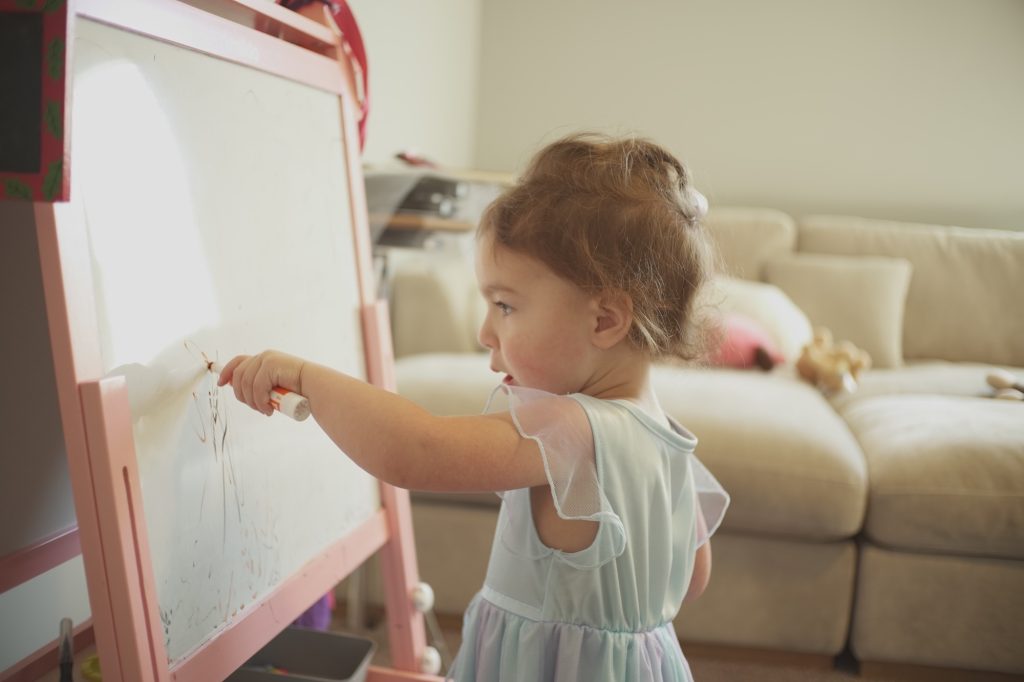
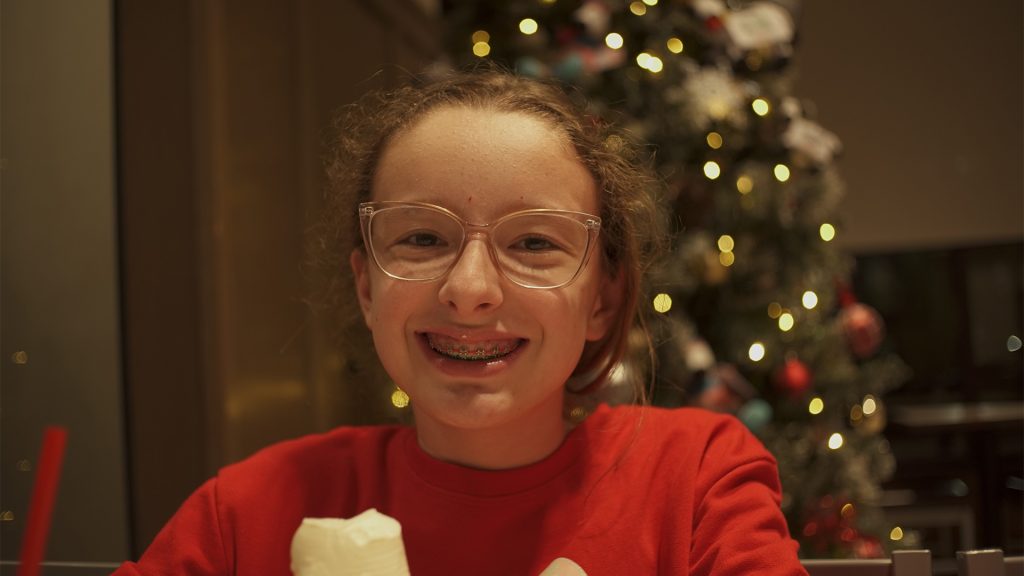
Sony a6400 | Custom “Portra400” Picture Profile
Shooting like film is one thing, but without some tweaks, your photos might not reflect your vision. All the images in this post are Straight Out of Camera (SOOC) unless otherwise noted.
Why Your Photos Might Look “Digital”
If you’ve set up your camera as I described in Part 1 but aren’t using custom picture profiles (or whatever your camera calls its “looks”), your JPEGs may still look a little flat or overly digital.
Here’s a simple comparison:
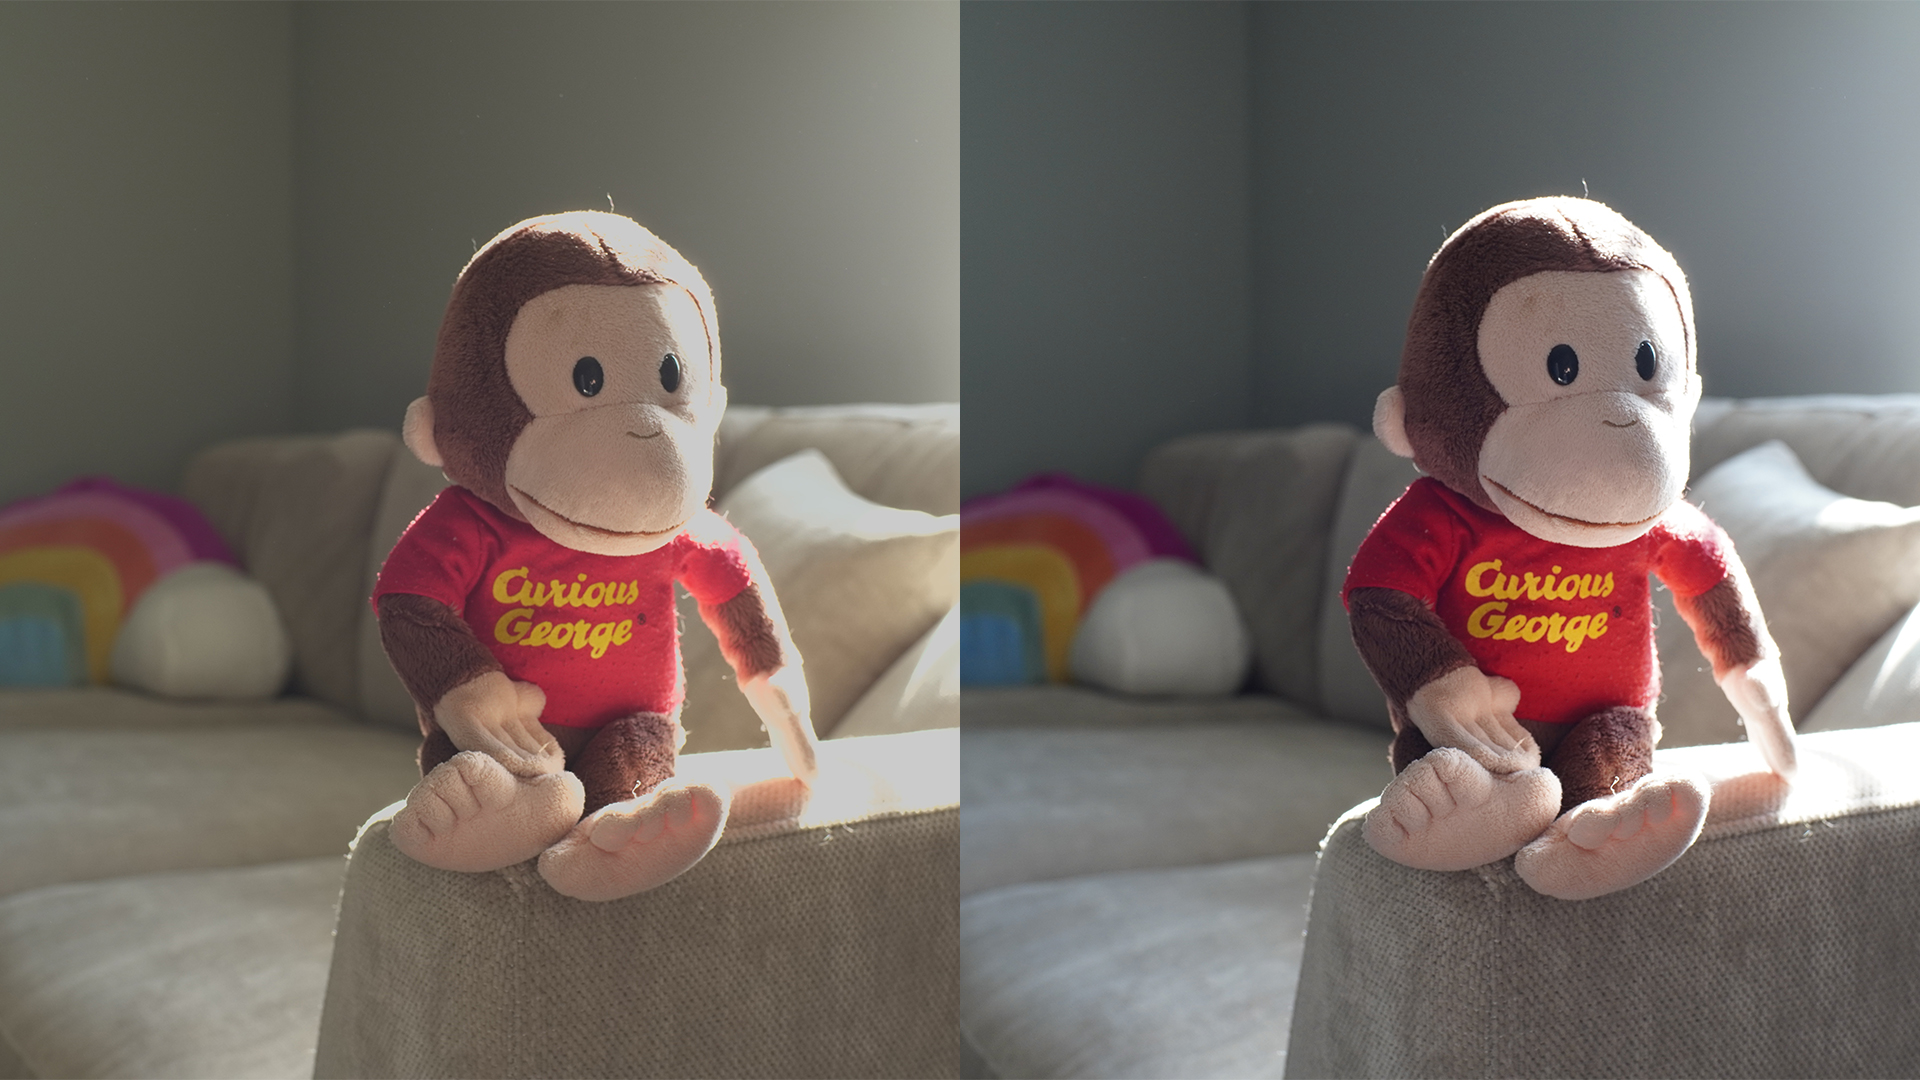
- Left: Custom film-inspired profile. Softer edges, pastel-like colors.
- Right: Default JPEG look with auto white balance. Colors darker, edges sharper, very “digital.”
If you shoot with a Fuji camera, you might already be familiar with film simulations. Fuji’s JPEG engine is exceptional at producing usable, film-like images straight out of camera.
For Sony users, my custom picture profiles are inspired by classic film stocks like Portra 400. They won’t replicate film exactly, but they capture the feel and aesthetic I associate with film photography. Think of it as my interpretation of film.
If you want to dive deeper into custom picture profiles, I highly recommend Veres Deni Alex’s work: https://www.veresdenialex.com/home. His tutorials and free simulations helped me learn how to tweak profiles to match my personal style.
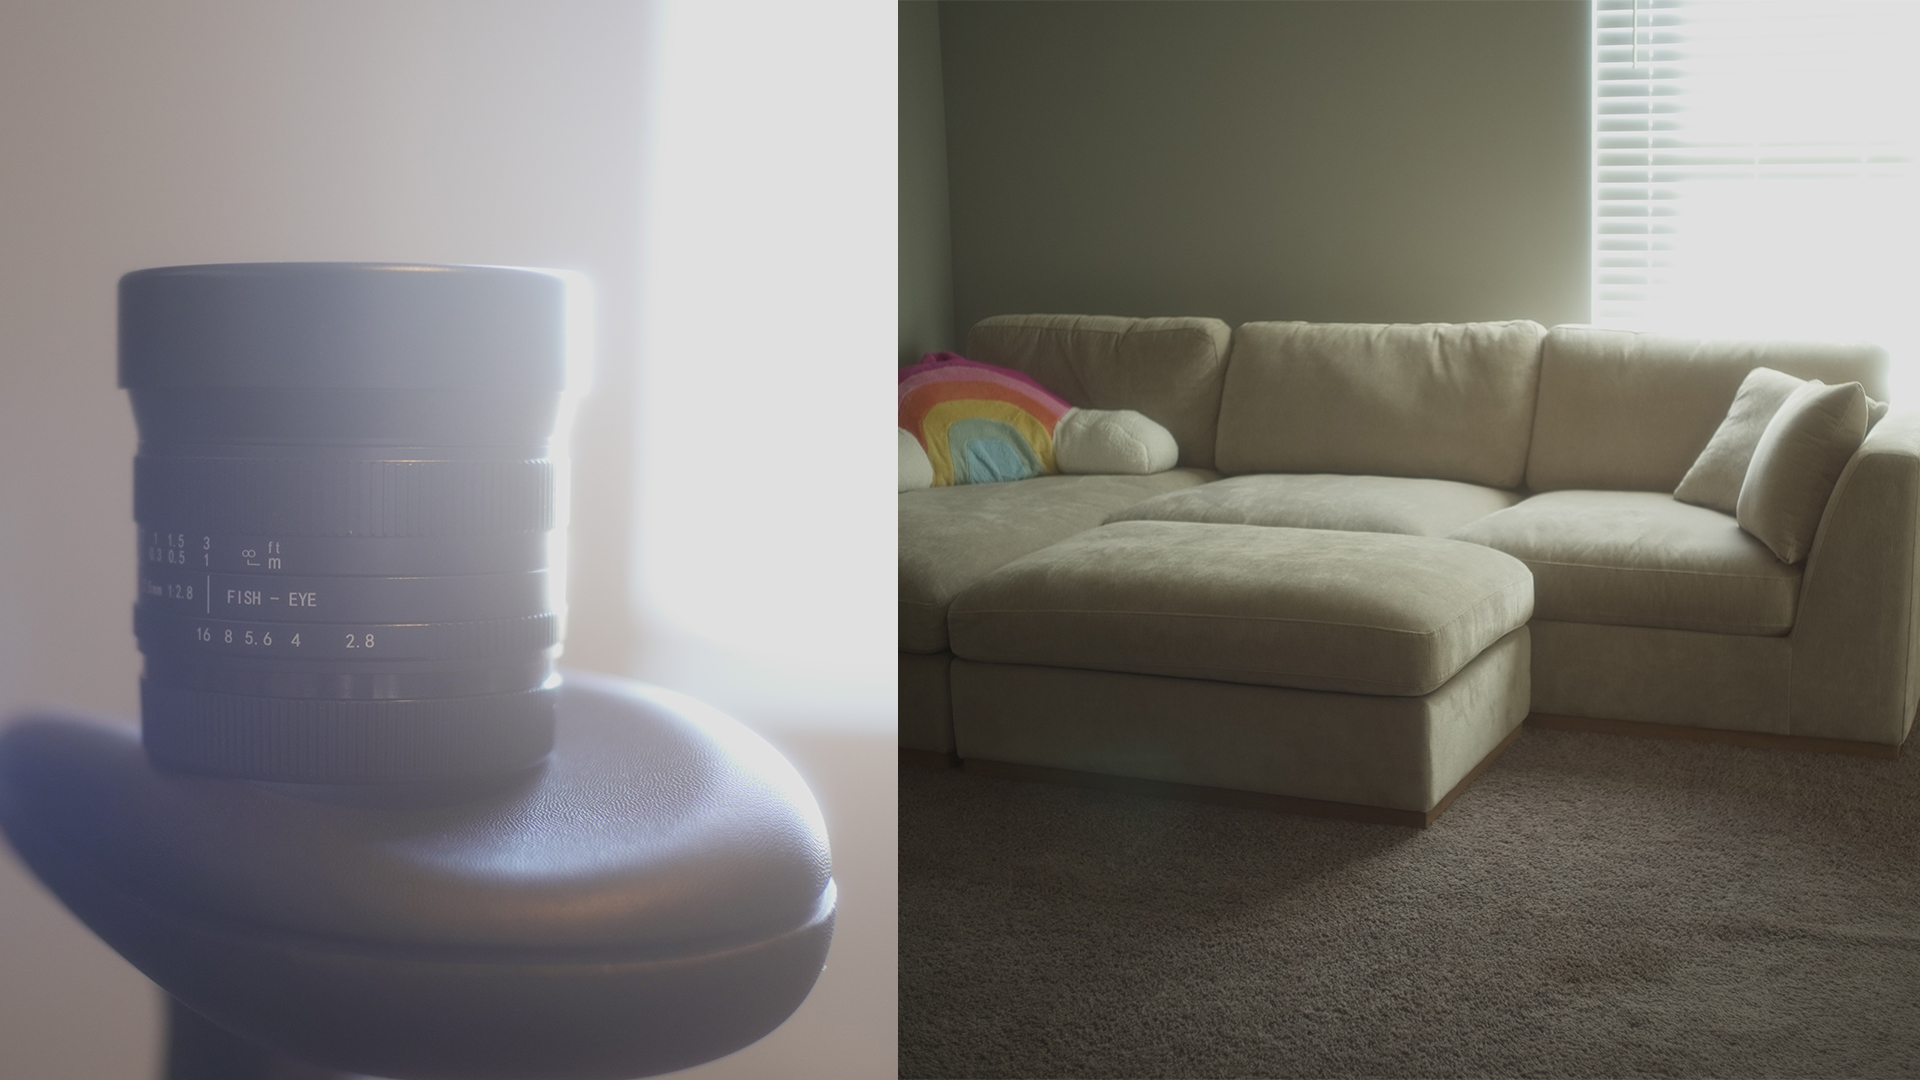
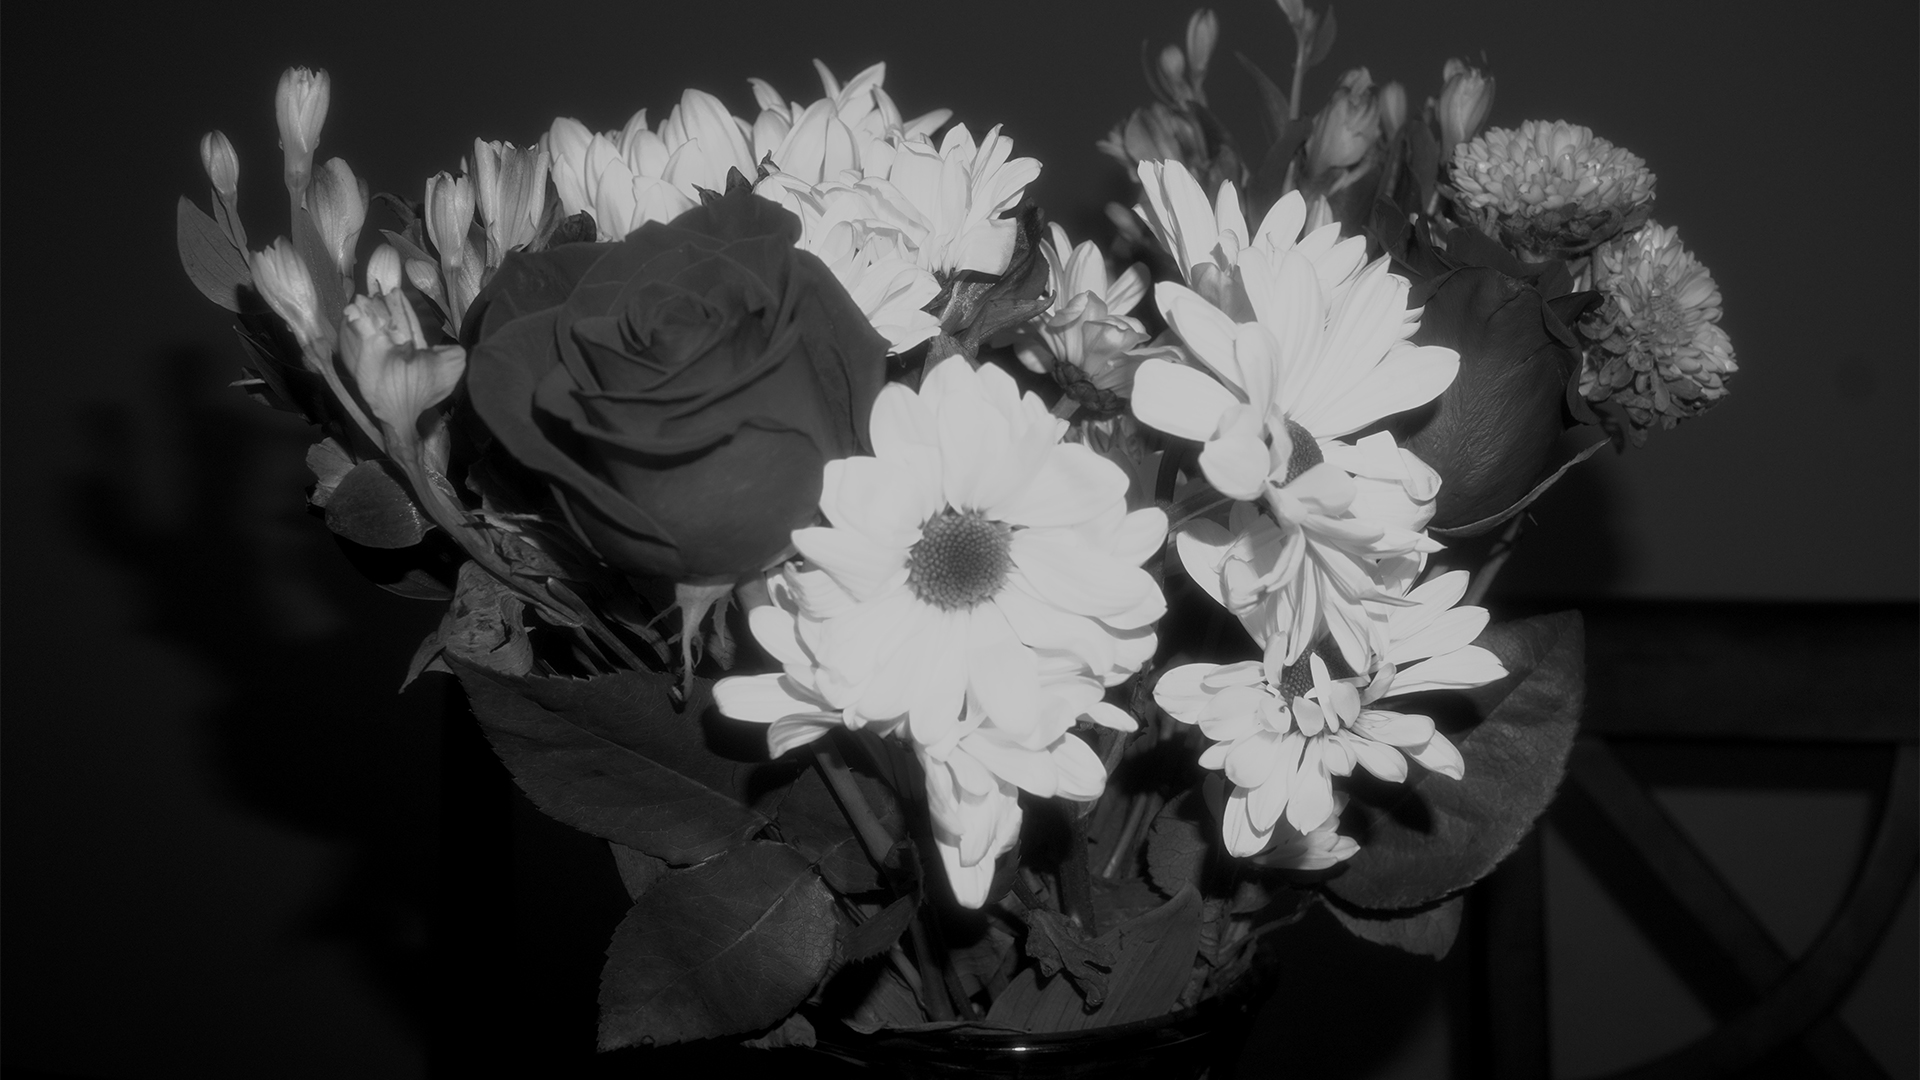
Before we dive into the specific picture profile settings, you can also achieve the softer focus many people associate with film by using a mist filter. Personally I use a white mist diffusion filter and you can see an example below. If you notice the highlights flare out and almost glow.
Custom Picture Profiles on Sony Cameras
This section is focused on Sony cameras with customizable picture profiles, like my a6400. Many of these concepts can translate to other brands, but menu names and features will differ.
By slightly adjusting white balance and applying your camera’s “looks” or profiles, you can produce photos ready to share—without post-processing. This is one of the best parts of shooting this way: you get real camera quality with zero editing.
For example, if your camera allows wireless transfer, you can send SOOC images straight to your phone. Imagine sharing a film-style, high-resolution image captured on a real camera just like a phone shot—but with far superior image quality. No matter how advanced phone cameras become, there’s something about shooting with a real camera that can’t be replicated.
Creating Your First Custom Picture Profile
Ready to create your own custom picture profiles? Grab your camera and follow these steps to input the settings below. Remember, this is all about the look you want! This picture profile is inspired by Kodak Portra 400 film, but it’s my take on it. Feel free to tweak any of these settings to match your unique style.
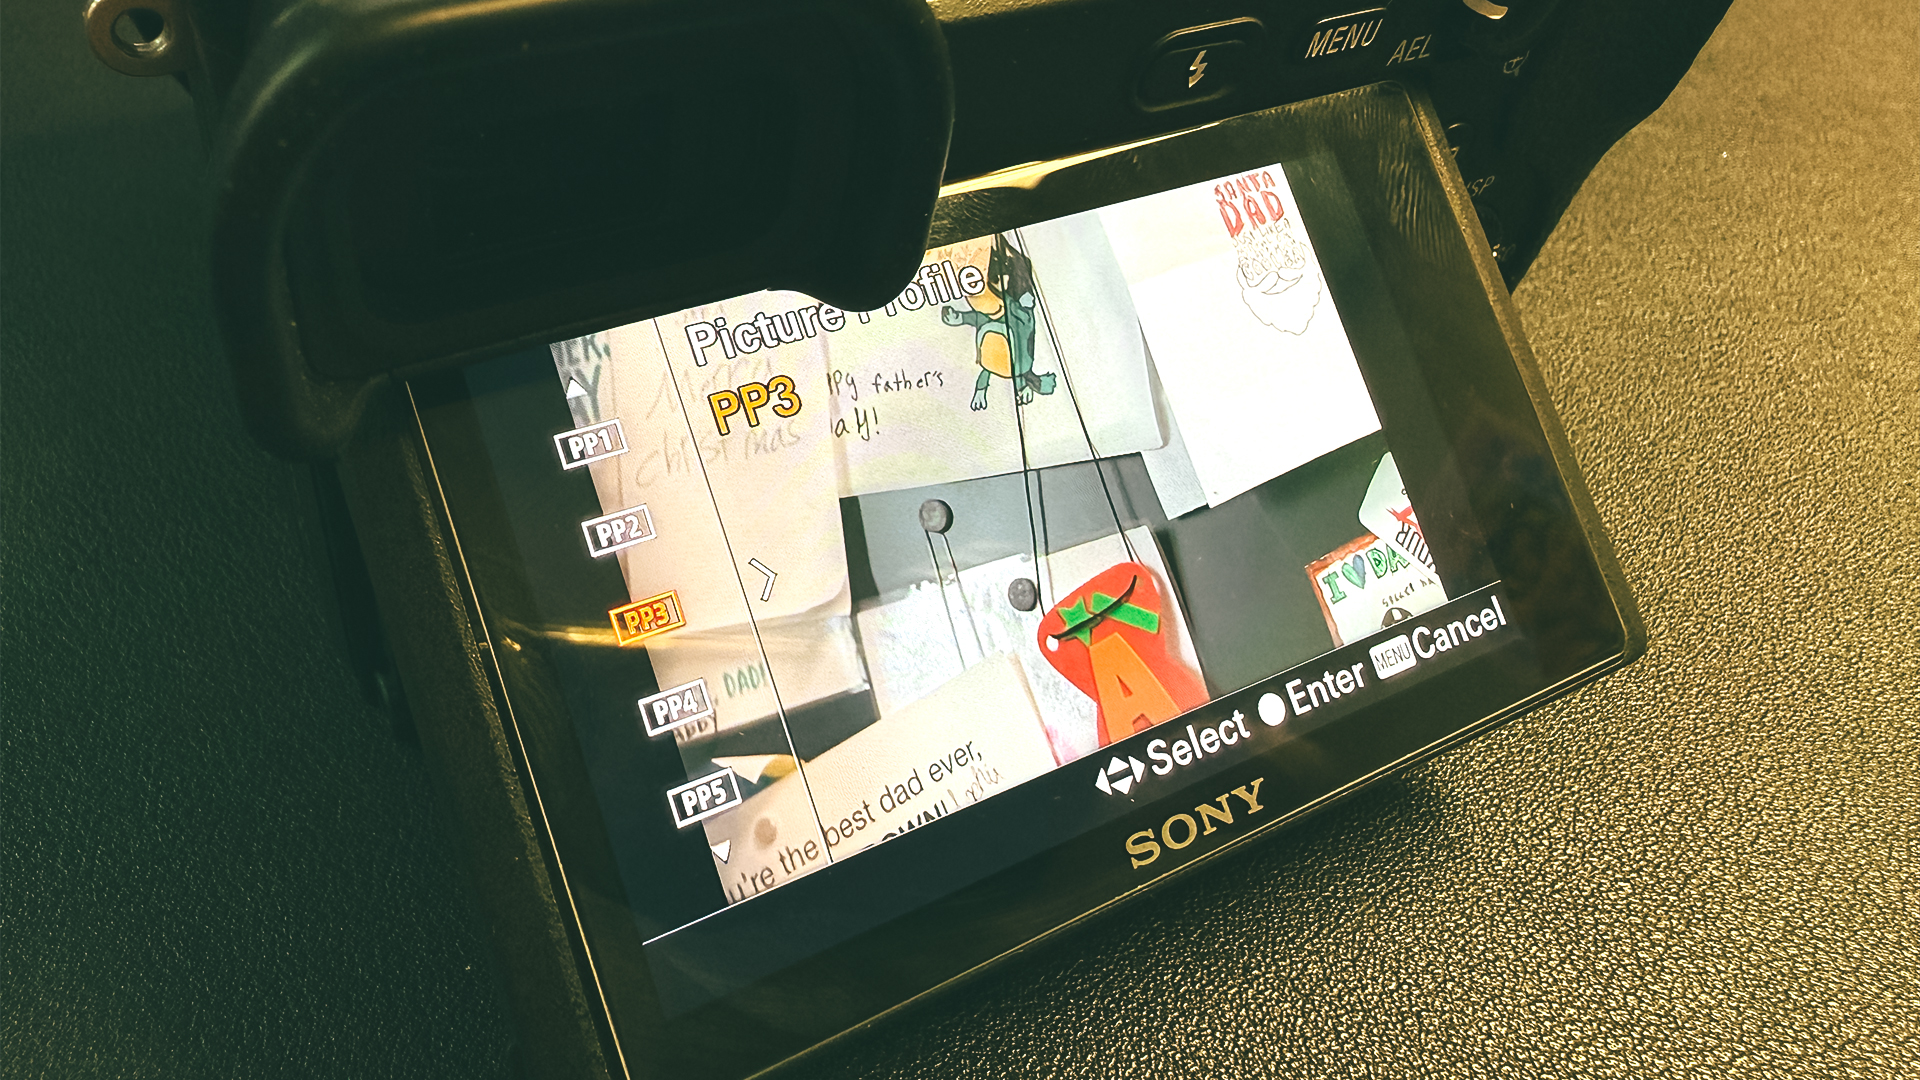
First, choose a Picture Profile that’s not currently in use. You’ll find them listed in the menu as PP1, PP2, PP3, and so on.
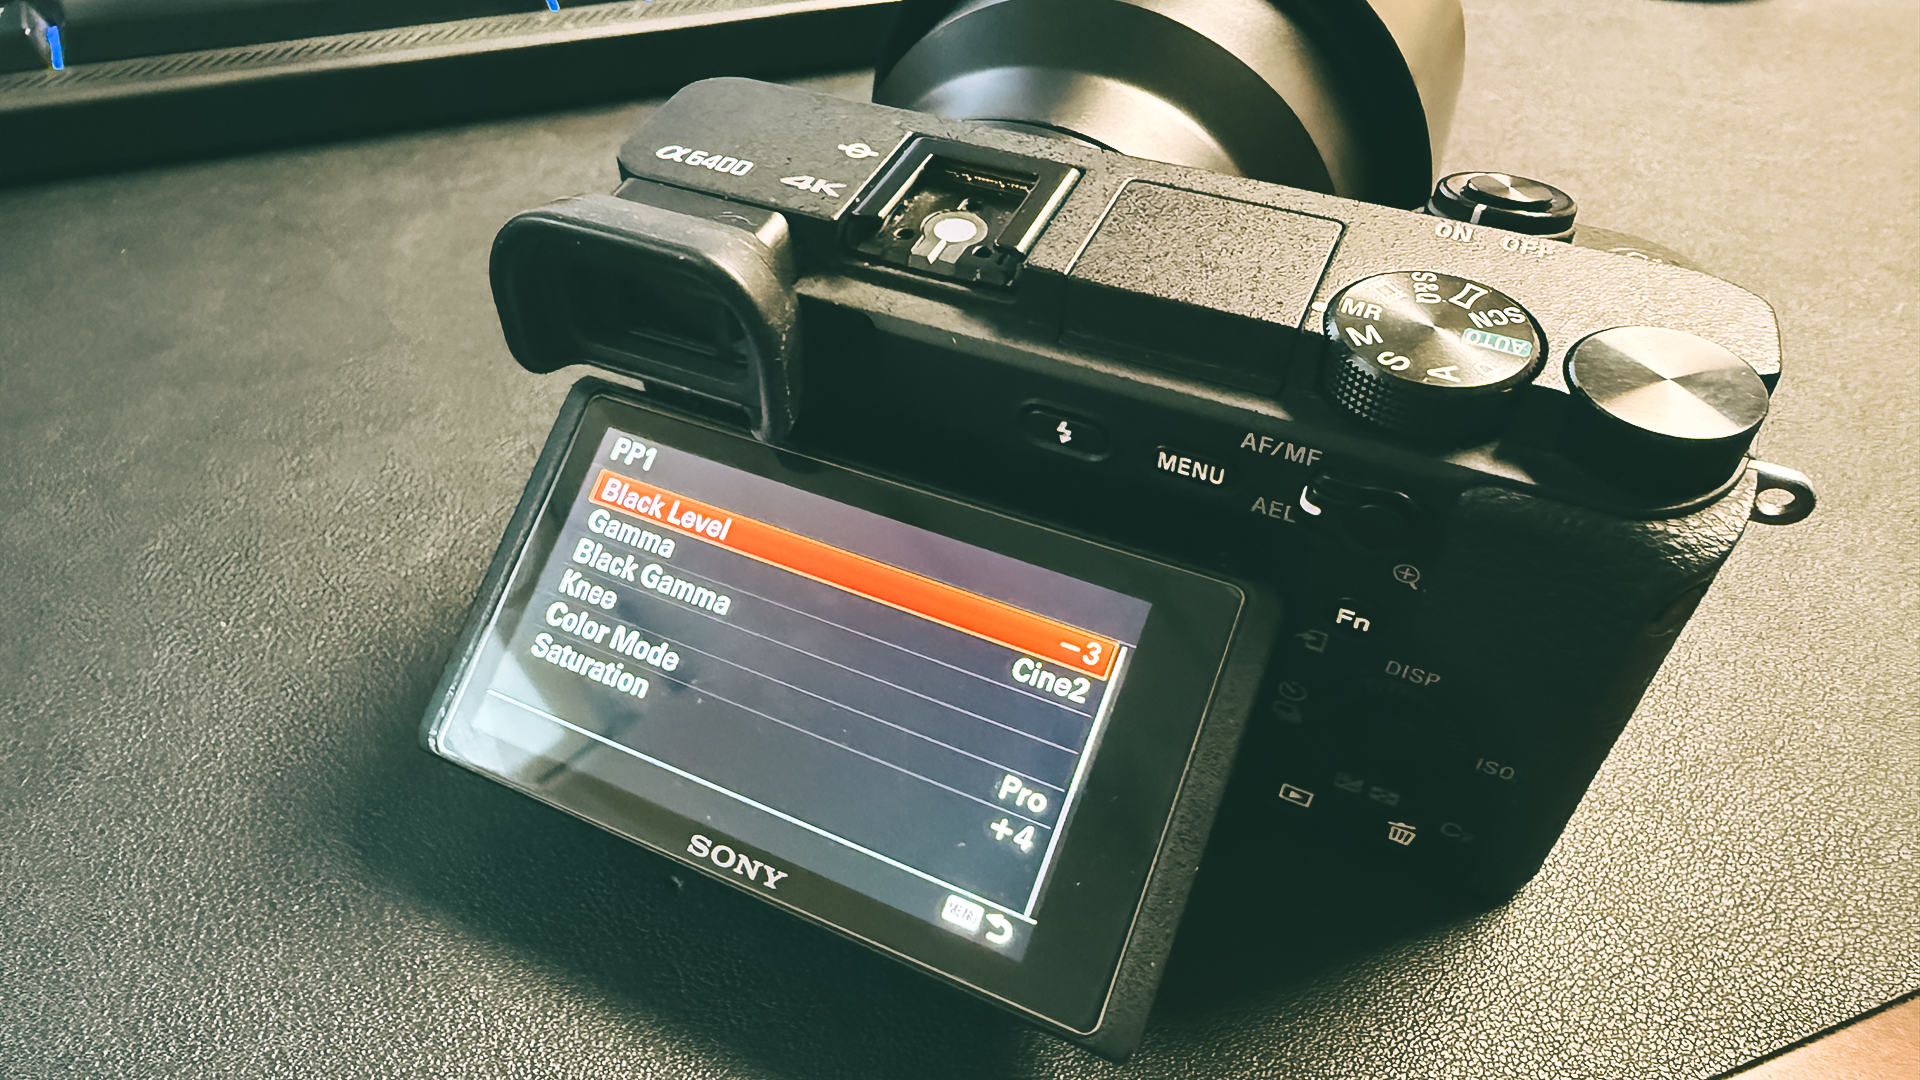
Here are the exact PP settings I use
- Black Level -3
- Gamma – Cine2
- Black Gamma – Wide, Level -3
- Knee – Manual, Manual Set Point 80%, Slope +3
- Color Mode – Pro
- Saturation +4
- Color Phase +1
- Color Depth R +2, G +2, B -2, C -1, M -1, Y +2
- Detail -5, Adjust Mode – Manual, V/H Balance +2, B/W Balance Type3, Limit 7, Crispning 1, Hi-Light Detail 4
- White Balance Custom – 5200k – 5500k (this is personal preference), A+2, G0
- ISO 400
Now, you’re ready to shoot. Take some test shots in different scenes and lighting conditions before you start making adjustments. Remember, Kodak Portra 400 film is an outdoor film, which will affect your ISO and white balance. I’ve found that it performs best in bright daylight, but not in direct sunlight. If you use it indoors, you’ll get a nostalgic “orange” look because it’s an outdoor film used indoors. Locking your ISO at 400 is highly recommended to truly recreate the film experience, but it may be challenging in low-light situations.
Hopefully these post have helped you out and given you a new challenge to try. Recreating the film experience may not be feasible for you all the time but it is fun to use.